Creating a Binary Quiz Activity
Overview
Within our Getting Started Package, you will find a Template folder. We have provided a template for the configuration file, which is used by the CLIO interface to set up the activity. We also include a content drafting template created in Microsoft Word that can aid collaboration when creating activities as part of a development team.
Options
Questions
The quiz can have an unlimited number of questions.
| Property | Description | Expected Parameters | Examples |
|---|---|---|---|
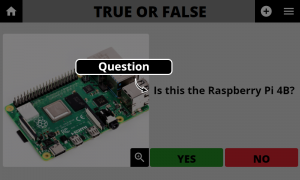
| Question | This is the question being asked. | Plain Text | |
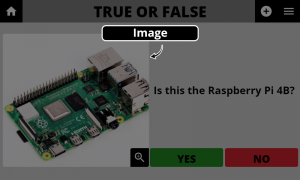
| Image | Image displayed alongside the question. | Image File | |
| Answer | The correct answer to the question | "Affirmative" or "Negative" | |
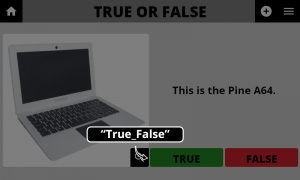
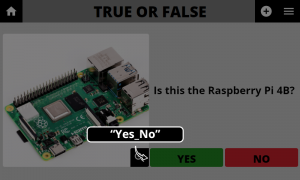
| Binary | The text that is shown on the answer buttons. | "Yes_No" or "True_False" | |
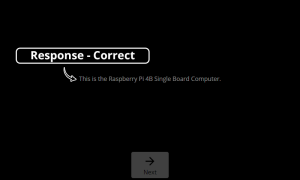
| Response – Correct | Response that is displayed when the user gets a correct answer. | Rich Text | |
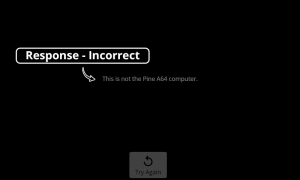
| Response – Incorrect | Response that is displayed when the user gets an incorrect answer. | Rich Text |
Drafting the Content
Open the provided Content Template for drafting the True or False Quiz activity. First, we must decide on the basic descriptive information for the activity, such as the title, description, preview image and theme. This information is required because it is used by the CLIO interface to properly display the activity.
Next, we can start to write the content needed for the True or False Quiz activity type. This activity type displays an image, a question or statement, and two binary buttons. These buttons can be configured to be blank, or use the words Yes/No, True/False, or Affirmative/Negative. On correct and incorrect answers, the user is shown configurable rich text responses to guide them towards the correct answer, or reinforce what they already knew.
For this activity, we can copy the template for Question 1 and create as many duplicates as we need to have enough questions. If we want a total of two questions, we can duplicate Question 1 one more time. To keep organized, we can rename it to Question 2. Now that we have the content draft set up, we can begin to enter all of the required information.
For each question, we are required to have the question or statement we would like to pose and its correct answer, as well as an image to show beside it. We can also choose which type of buttons we would like: Yes and No, True and False, Affirmative and Negative, or leave the buttons blank. It is optional to add rich text for correct and incorrect responses, but they can help provide useful context to users.
Coding the Activity
The next step will be to take the content that was created in the Content template and begin to migrate it into the Configuration template. We will need to open the provided Configuration Template for drafting the True or False Quiz activity. This can be done in a plain text editor, but for the purpose of this manual we will be using jsoneditoronline.org/.
First, we will be duplicating the necessary fields to ensure that we can enter all of the data that we’ve spent time drafting. In our previous example, we decided to use two questions for our activity, so we should start by making sure we have two questions within the configuration file.
The first question within the activity is labeled as ‘1’, underneath the Content object. If we click on the small box to the left of ‘1’, we can choose to duplicate it as many times as we need to create enough questions.
In our example, we would need to duplicate it once to have a total of two questions. After this is done, we will need to rename the fields we just duplicated. Currently, it will be named “1 (copy)”. It is important that these keys be numeric and unique. We will rename it “2”.
We can now begin filling out the empty fields for each question. Under the first question, named “1”, we have the same information we entered into our content draft
First, we put the relative location of our image into “Image”. When we open the Question object, we can put the text of our question or statement into “Text” and the type of buttons we want to use into “Type”. Under “Answer”, we can enter either “Affirmative” or “Negative”, depending on which answer is correct. Finally, we can enter our two correct and incorrect responses that are displayed based on user input.
Once you are finished, you can download the finished JSON file by clicking ‘Save’ and then ‘Save to Disk’. This file can be copied to the Program’s @Activity folder, and the media can be copied to the Program’s @Media directory.
