CLIO Proposal
What is Open-Source?
When we tell our computer to load a website or run an application, we are asking it to interpret source code that was written by a programmer, developer or designer. Source code often consists of the largest parts of an application, yet it is the part that users rarely see. Source code is the set of instructions that tell a computer what we need it to do and which tools to use while completing the task.
Open-source refers to application source code that is available for everyone to use, share and modify. Open-source technologies are often created by following a guiding set of principles for nurturing a community, collaborating on source code, and keeping everything you do in clear view for everyone to see. This is commonly known as “the open-source way”. This mindset harkens back to the first days of modern computing and the communities of home-brew enthusiasts that created the very first personal computer systems, sharing their discoveries openly with the field.
While there are different open-source licenses, open-source code can generally be downloaded free-of-charge for personal and commercial uses, as well as modified based on your specific needs. If this code implements a useful change, improves an existing feature, or corrects a coding error, the original developers may even ask to integrate the changes you’ve made into their project. Depending on the license, you may even be able to re-upload the software as a ‘fork’, allowing you to resurrect an otherwise abandoned or unsupported project.
These types of technology are an important part of the development ecosystem. They allow for the creation of larger and farther reaching projects by allowing developers to integrate pre-existing open-source toolkits and libraries, instead of dedicating hours to recreating functionality. Open-source technologies often foster vast communities of developers, users and even entire organizations that dedicate their time and resources to improving the project. This code is available for anyone to inspect, allowing communities to clearly see what the code is doing, thus ensuring the safety, security and intended function of the program for everyone.
What is CLIO?
With the increasing prevalence and availability of open-source technologies, museums have been provided with a plethora of low-cost tools to enhance exhibitions and educational programming at their institutions. While there are tools developed to tackle the digital interactive needs of museums, they often require extensive knowledge of coding to fully utilize. We aim to rectify this with the creation of CLIO, an open-source toolkit for the creation of digital exhibit kiosks.
CLIO integrates existing low-cost electronics, 3D printing, and open-source software to create kiosk hardware that museums can easily replicate, either in batches or one at a time, by following this guide. Prototype kiosks were designed for mobility and offer a modular design that can be configured for integration into different environments, such as classrooms, cafeterias, libraries and community centers.
Worldwide surveys of developers consistently show that scripting languages like JavaScript are the most commonly understood programming languages worldwide. Museums are more likely to have staff familiar with web technologies than other forms of digital development tools, so we designed CLIO for museum professionals who have beginner’s experience or interest in web design and photo editing.
Toolkit Contents
The CLIO toolkit includes a web application interface, templates for interactive activities and the designs for our prototype kiosk, enabling institutions to rapidly replicate a usable prototype. This manual will guide you through printing a prototype case, installing the required electronics and setting up the kiosk interface. The getting started package, which can be downloaded from our website, contains:
- The CLIO Manual
- Quick Start Guide
- Interface usage guide
- Program and Activity creation guide
- Templates for 13 interactive activity types
- Configuration template files
- Drafting template files
- A printable brochure for museum facilitators
- 3D printable files for the enclosure and mounting system
- A pre-configured Raspberry Pi SD card image to quickly replicate a kiosk
This manual also provides general tips and recommendations for getting CLIO installed using your own hardware and software. The interface is designed to be hardware- and resolution-independent so that it can be used with many different electronics.
Interface
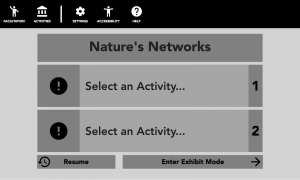
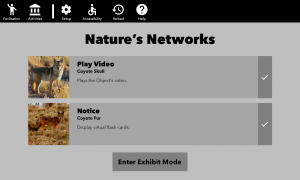
When the kiosk is plugged in, it will automatically boot into “Facilitator Mode”, a graphical user interface that allows program facilitators to customize which “Activities” to display as part of their exhibition. Activities are collected into “Programs”, which can be loaded on-the-fly without the need to change hardware. Facilitators can preview the activities before selecting them to display as part of the exhibit.
Activity content is stored locally on the device, allowing the kiosk to be used across multiple exhibits without access to the internet. After the desired Activities are selected, the kiosk can enter “Exhibit Mode”; an alternate graphical user interface that displays the selected Activities as a carousel to be navigated by users.
Facilitator Mode
This graphical user interface allows facilitators to configure the exhibit kiosk, allowing for more control over how it is integrated into the pop-up environment. Facilitators can always access the menu bar, which provides access to a collection of submenus aimed at improving accessibility and live facilitation.
Menu
Facilitator Mode always has a menu bar at the top of the screen that displays icons related to different core functionalities of the kiosk.
Exhibit
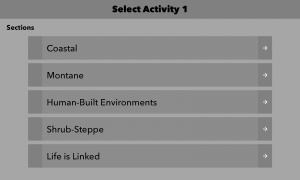
View the currently selected Activities. Resume the previously loaded activities, or select new ones using ‘Choose an Activity’. After selecting activities, enter ‘Exhibit Mode’.
Facilitation
Provides facilitators with program information, such as goals, objectives, and facilitation instructions. Discussions provide quick reference information about questions they may be asked related to the program they are facilitating.
Activities
Preview activities by tapping on them and selecting them by hitting the + icon. Facilitators can select which activities are visible in ‘Exhibit Mode’. Activities can be sorted by activity type and intended audience.
Settings
Change the display brightness, customize the theme, choose which program is loaded and troubleshoot common problems.
Accessibility
Enable contrast modes and change text settings to improve readability.
Help
Provides quick reference information about getting the kiosk set up and into Exhibit Mode.
Exhibit Mode
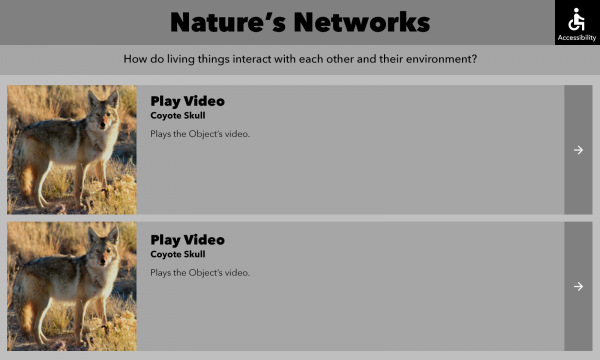
After the desired Activities are selected, the facilitator can enter Exhibit Mode to temporarily disable further configuration of the kiosk. Exhibit Mode restricts kiosk users to Activities selected by the facilitator. By design, the kiosk must be fully restarted to return to Facilitator Mode. The kiosk can also be configured to boot directly into Exhibit Mode using activities specified within a configuration file.
Exhibit Mode displays the Activities selected by the facilitator as a carousel that users can navigate. Tapping on an activity will open it full screen and the user can return home at any time to access other Activities. Additionally, the kiosk will automatically return home after an amount of time without interaction.


