Preparing the POP Kiosk Software
Overview
After the hardware is put together, we can install the software we need to get up and running. This will involve using software on another computer to copy files to an SD card.
Downloading the Image
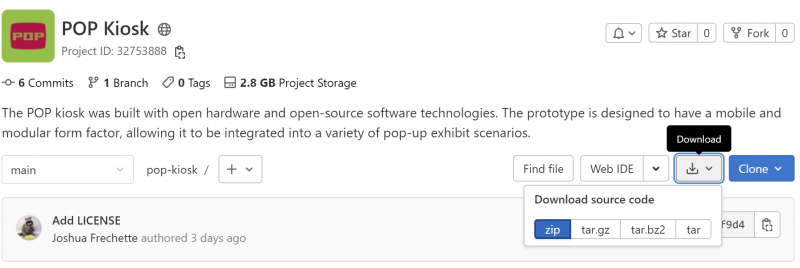
Using a web browser, navigate to the POP GitLab. This is where you can download the latest version of the POP Kiosk Quick-Start image. On the POP GitLab website, click the 'Download' button beside the blue Clone button. This will open a pop-up that will allow you to download the repository in different formats. We recommend the 'zip' file format because it is cross-platform compatible by default on most systems.
Once downloaded, extract the file 'pop-kiosk-main.zip'. Within this file, there will be another zip file named 'POP-v*.*.zip'. Extract this file, as well. Please note, the expanded file will be approximately 32gb, so you may need to ensure you have adequate disk space.
Flashing an SD Card
The image file we just downloaded is the firmware, operating system and software needed to create a POP kiosk. This image can be flashed (or written) to the SD card through a variety of different programs.
Raspberry Pi Imager
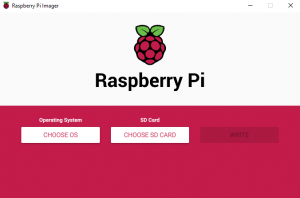
This is the official Raspberry Pi solution for flashing image files to the SD card, which is an integral part of the microcomputer ecosystem. This option has the added benefit of allowing you to preconfigure Raspberry Pi OS and Linux related software, such as configuring Wi-Fi, changing the computer's host name, and enabling SSH for remote access. By default, Wi-Fi and Bluetooth are disabled on the POP kiosk.
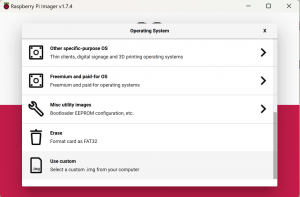
When selecting an Operating System for your SD card, you can find "Use custom" at the bottom of the list. Here, you can navigate to the POP .img file that you downloaded and extracted above.
For more information, you can refer to official Raspberry Pi how-to resources and videos.
BalenaEtcher
First, we will need to download the software required to write the image to the SD card. Using a web browser, download the latest version available for your current operating system. BalenaEtcher supports Microsoft Windows, Apple MacOS and Linux.
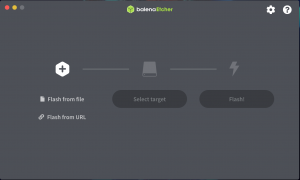
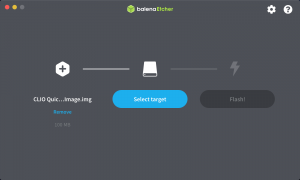
Once Balena Etcher is downloaded, open the program. When BalenaEtcher is open, you will be presented with the main menu.
To flash an image to an SD card, we must first direct BalenaEtcher to it. Click on ‘Flash from File’ and navigate to the appropriate image downloaded from our website. Select the image file and hit open.
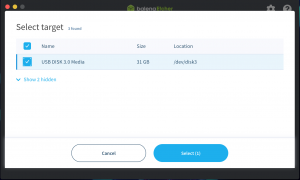
Next, we will need to plug our desired SD card into the computer. Using a MicroSD to USB adapter, plug in the SD card to your computer. Click on ‘Select target’. Search through the list of devices and find your SD card, using the name and size. By default, BalenaEtcher will only show externally connected devices, such as USB flash drives or hard drives. All system drives and internal hard drives are hidden, decreasing the risk of flashing the wrong drive.
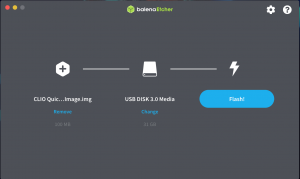
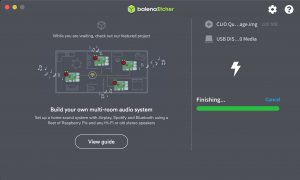
Once you’ve selected the SD card, you can hit flash to begin copying over the image. In order to do this, you will need to enter the password of a computer administrator. Operating systems, such as MacOS, may require you to allow different access rights. After permission has been granted, the data will begin to transfer and should not require user interaction.
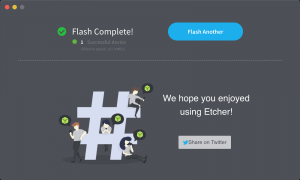
BalenaEtcher will verify all of the data written to the SD card before finishing. Once it is completed, you will be presented with the success screen. If you are making additional kiosks, you have the option to begin flashing another SD card.
For more information, you can refer to resources and videos created by the official Raspberry Pi Foundation YouTube channel.
Installing the SD Card
After your SD card has been flashed, you can install it into a Raspberry Pi. The SD card slot is located on the underside of the Raspberry Pi computer, on the side opposite from the USB ports.
After it is installed, you can plug in the USB power cord into the kiosk to test it.
Next Step – Printing the Case
The POP kiosk is made from a collection of modular parts that can be printed separately and assembled into different configurations based on your specific needs and application.
| Documentation | |
|---|---|
| Installation | Look and Feel |
| Interaction Modes | Developing Activity Types |
| Creating an Interactive | Framework |
| Integrating CLIO | Contribute |
